Auto Layout Guide에서 제공하는 Auto Layout CookBook 따라해보기
Simple Constraints
Single View
 1
 2
 3
 4
 5
 6
 7
 8
 9
10
11
12
13
|
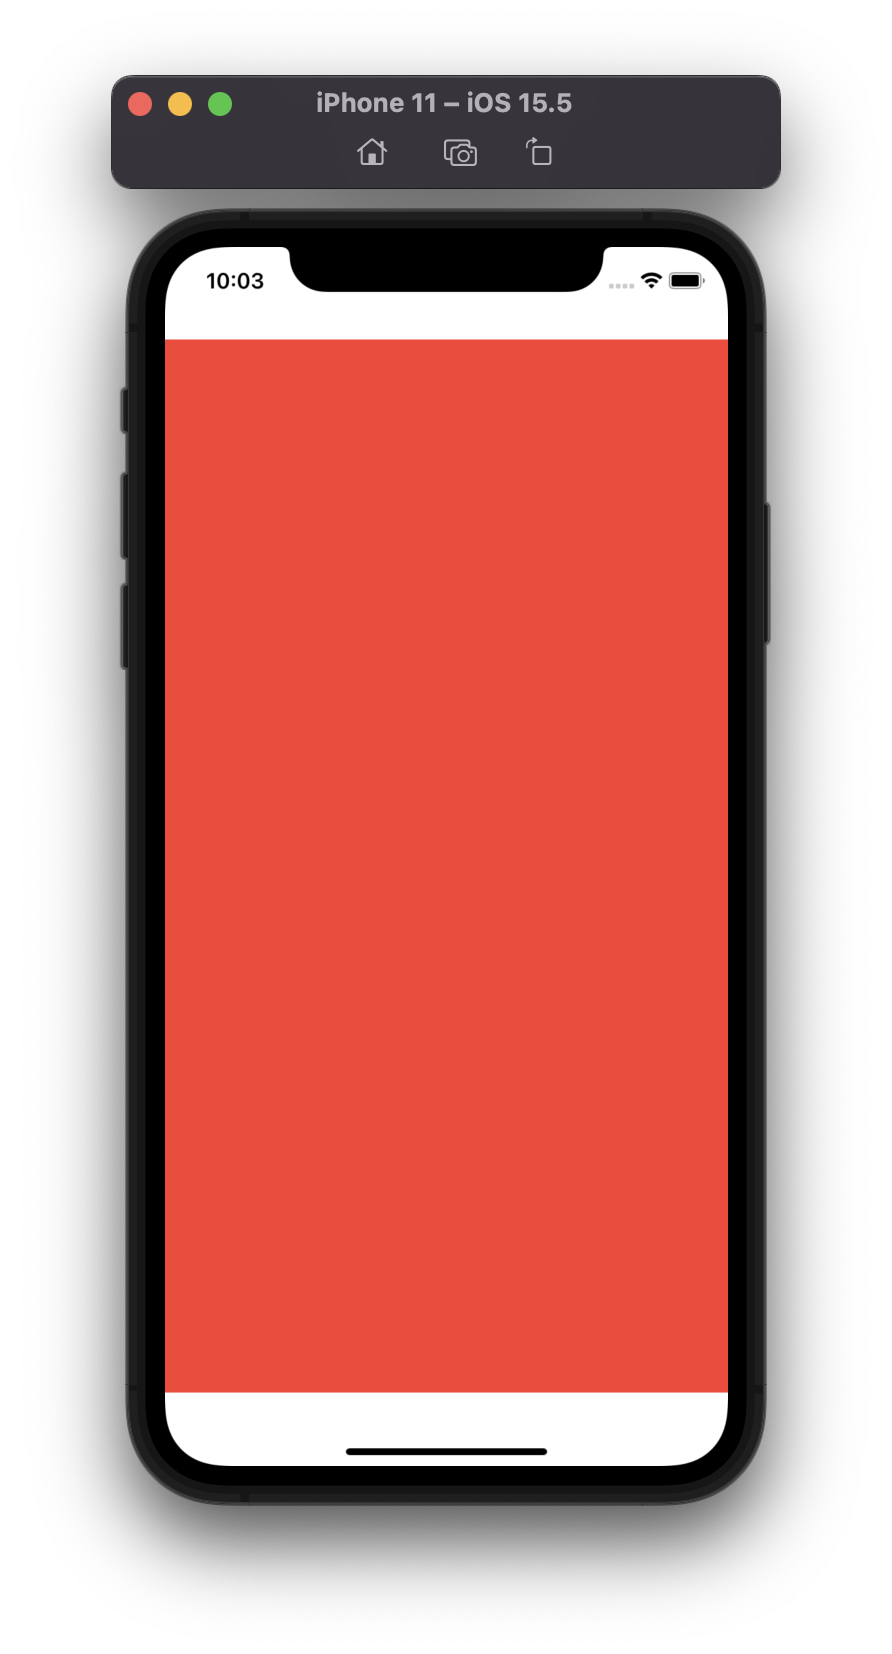
//Simple Single View
Red View.Leading = Superview.LeadingMargin
Red View.Trailing = Superview.TrailingMargin
Red View.Top = Top Layout Guide.Bottom + 20.0
Bottom Layout Guide.Top = Red View.Bottom + 20.0
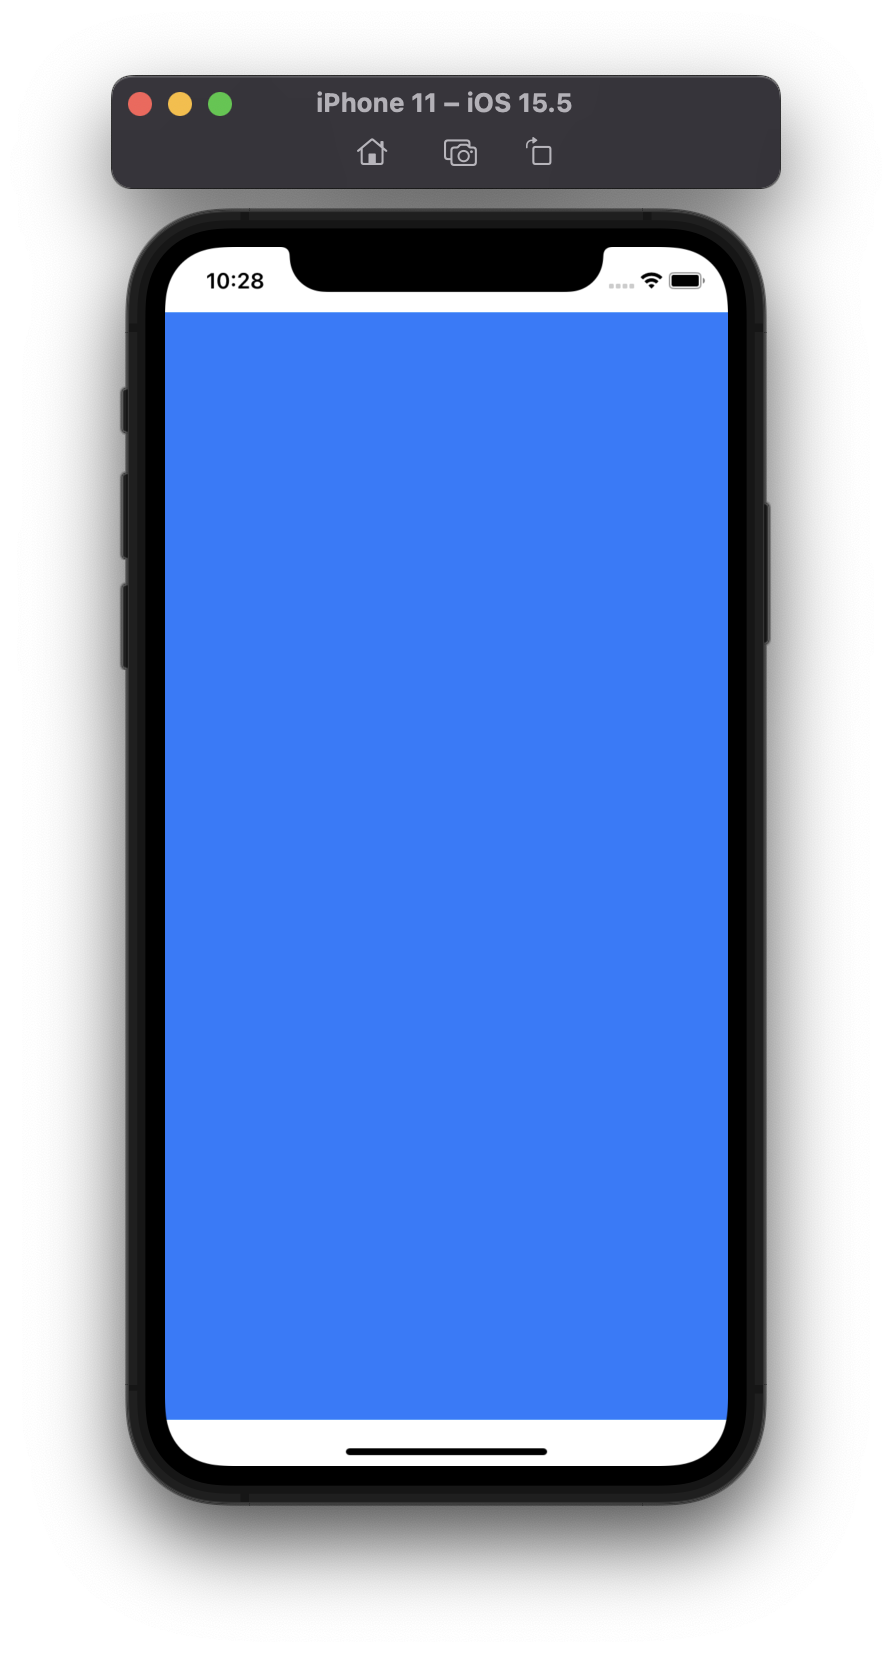
//Adaptive Single View
Blue View.Leading = Superview.LeadingMargin
Blue View.Trailing = Superview.TrailingMargin
Blue View.Top = Top Layout Guide.Bottom + Standard (Priority 750)
Blue View.Top >= Superview.Top + 20.0
Bottom Layout Guide.Top = Blue View.Bottom + Standard (Priority 750)
Superview.Bottom >= Blue View.Bottom + 20.0
|
| Simple Single View |
Adaptive Single View |
 |
 |
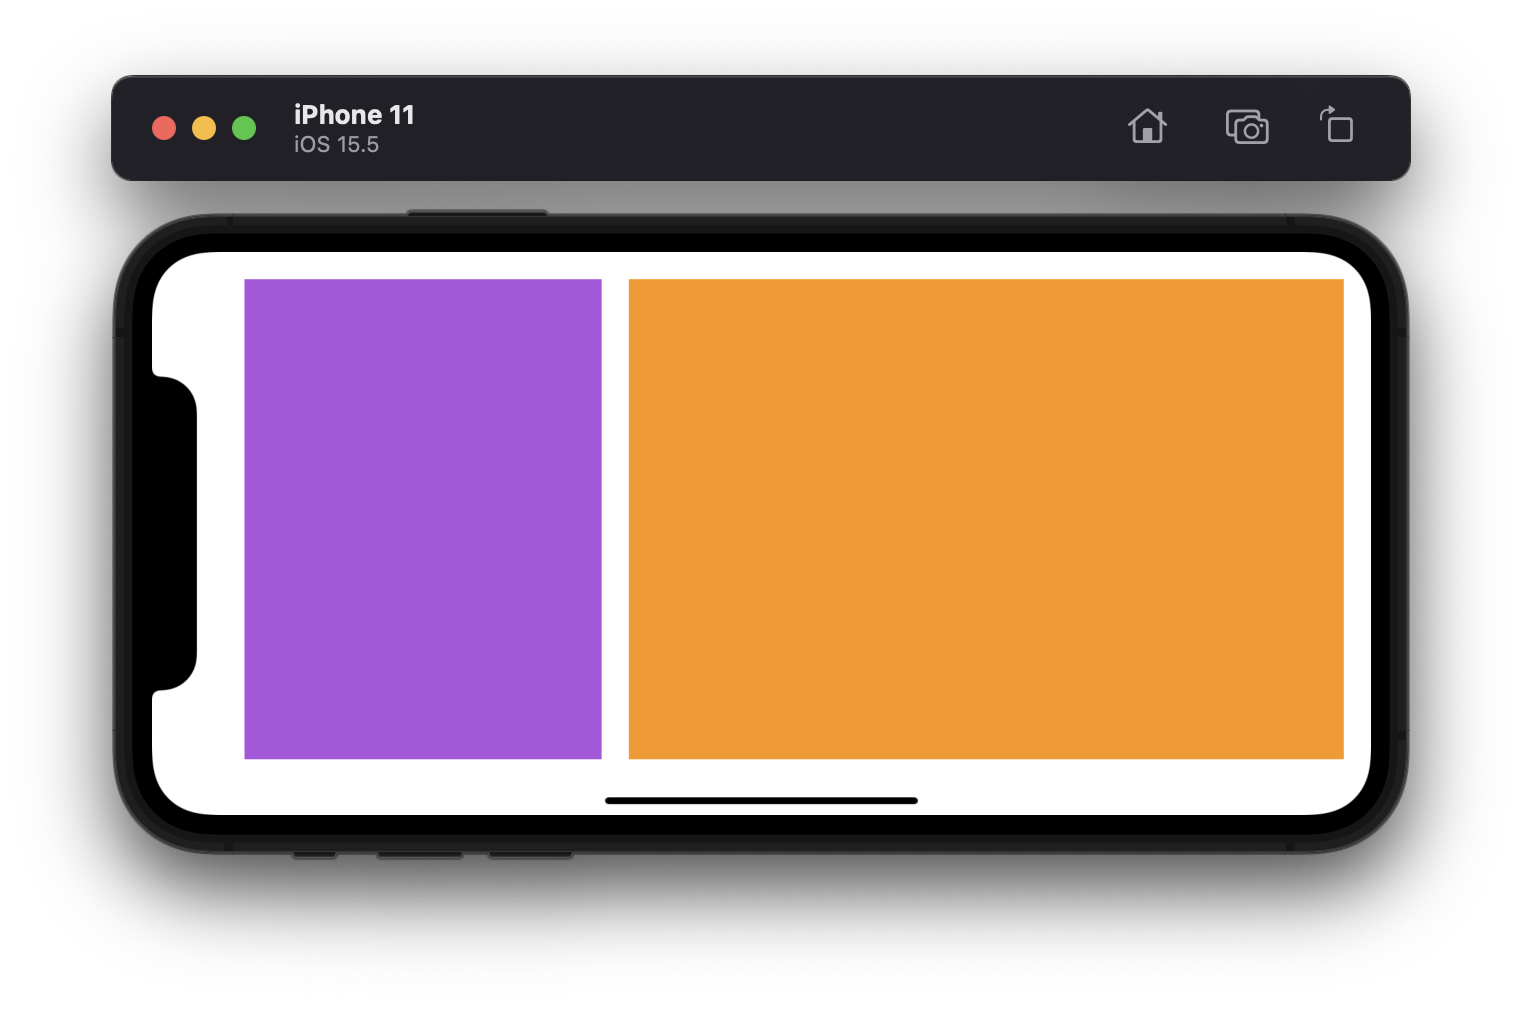
Two Different-Width Views
오렌지 색 뷰가 항상 보라색 뷰의 두 배의 너비를 가지도록 하기
1
2
3
4
5
6
7
8
|
Purple View.Leading = Superview.LeadingMargin
Orange View.Leading = Purple View.Trailing + Standard
Orange View.Trailing = Superview.TrailingMargin
Purple View.Top = Top Layout Guide.Bottom + 20.0
Orange View.Top = Top Layout Guide.Bottom + 20.0
Bottom Layout Guide.Top = Purple View.Bottom + 20.0
Bottom Layout Guide.Top = Orange View.Bottom + 20.0
Orange View.Width = 2.0 x Purple View.Width
|
Interface Builder에서 2.0, 200%, 1/2, 2:1로 여러가지 방법으로 설정할 수 있다.
| Landscape Mode |
Portrait Mode |
 |
 |
Two Views with Complex Widths
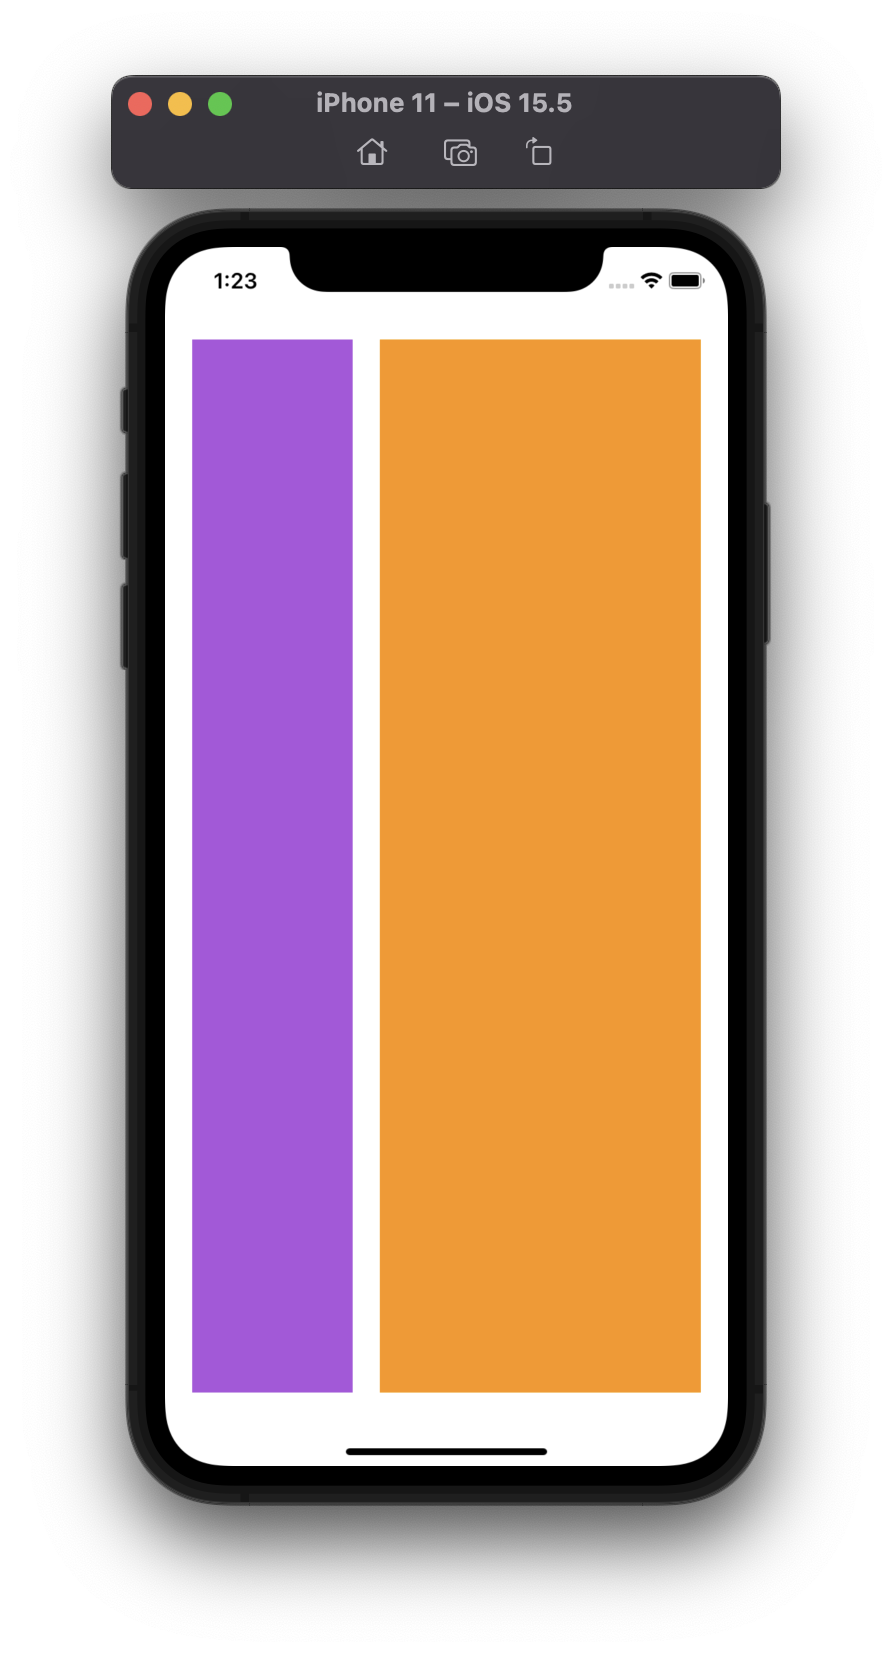
이번에는 왼쪽의 보라색 뷰가 150pt 최소넓이를 가지는 상태에서 오른쪽 오렌지 뷰가 두 배의 너비를 가지도록 해보자 - 화면이 작은 경우 두배가 안 될 수도 있다. (최소 넓이가 높은 우선순위를 갖는다)
1
2
3
4
5
6
7
8
9
|
Blue View.Leading = Superview.LeadingMargin
Red View.Leading = Blue View.Trailing + Standard
Red View.Trailing = Superview.TrailingMargin
Blue View.Top = Top Layout Guide.Bottom + 20.0
Red View.Top = Top Layout Guide.Bottom + 20.0
Bottom Layout Guide.Top = Blue View.Bottom + 20.0
Bottom Layout Guide.Top = Red View.Bottom + 20.0
Red View.Width = 2.0 x Blue View.Width (Priority 750)
Blue View.Width >= 150.0
|
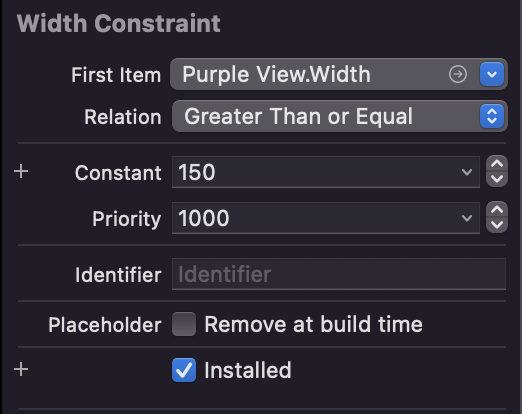
보라색 뷰의 넓이를 150pt로 지정한 후, edit 화면에서 Greater than or Equal을 선택하여 주고, Priority를 1000으로 지정해 준다.
그 후에 오렌지 뷰의 넓이를 2배로 지정해 준 곳에서 우선순위를 750으로 지정해 주면 된다.
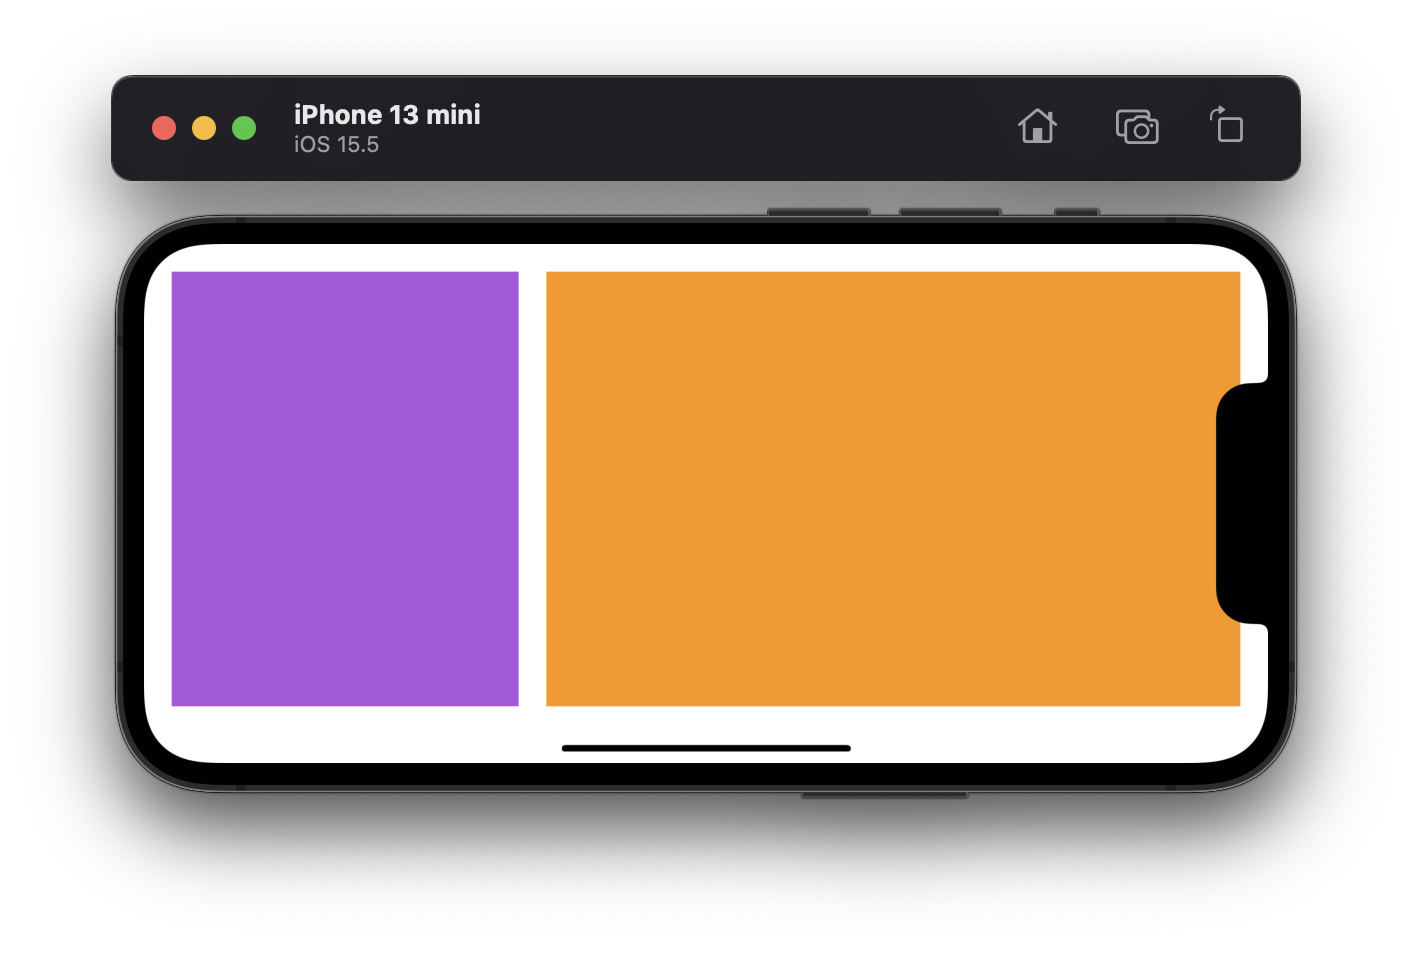
| Landscape Mode |
Portrait Mode |
 |
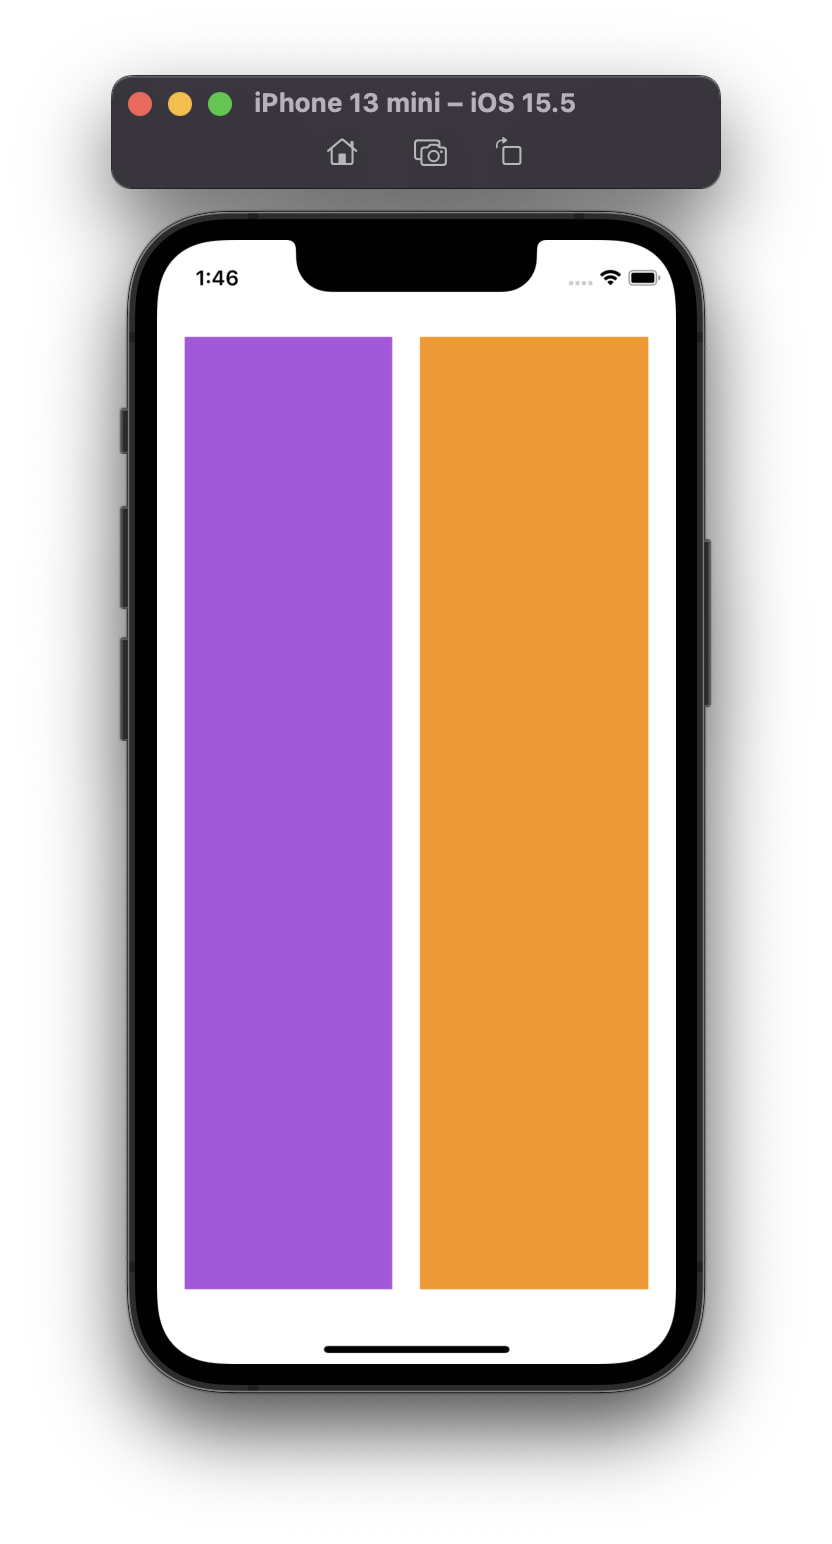 |
화면 크기가 작은 아이폰 미니 13 세로모드에서는 150pt 우선순위가 먼저 적용되어 2배로 보이지 않는다.
Views with Intrinsic Content Size
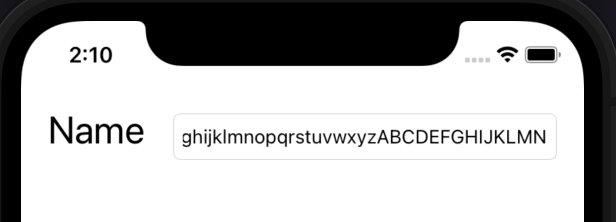
Simple Label and Text Field
Label과 Text Field를 만들어 주고 아래와 같이 제약을 설정한다.
이름 Label의 너비는 해당 text 크기에 고정되고, Text Field는 나머지 공간에 맞게 확장/축소된다.
1
2
3
4
5
|
Name Label.Leading = Superview.LeadingMargin
Name Text Field.Trailing = Superview.TrailingMargin
Name Text Field.Leading = Name Label.Trailing + Standard
Name Text Field.Top = Top Layout Guide.Bottom + 20.0
Name label.Baseline = Name Text Field.Baseline
|

Dynamic Height Label and Text Field
연습
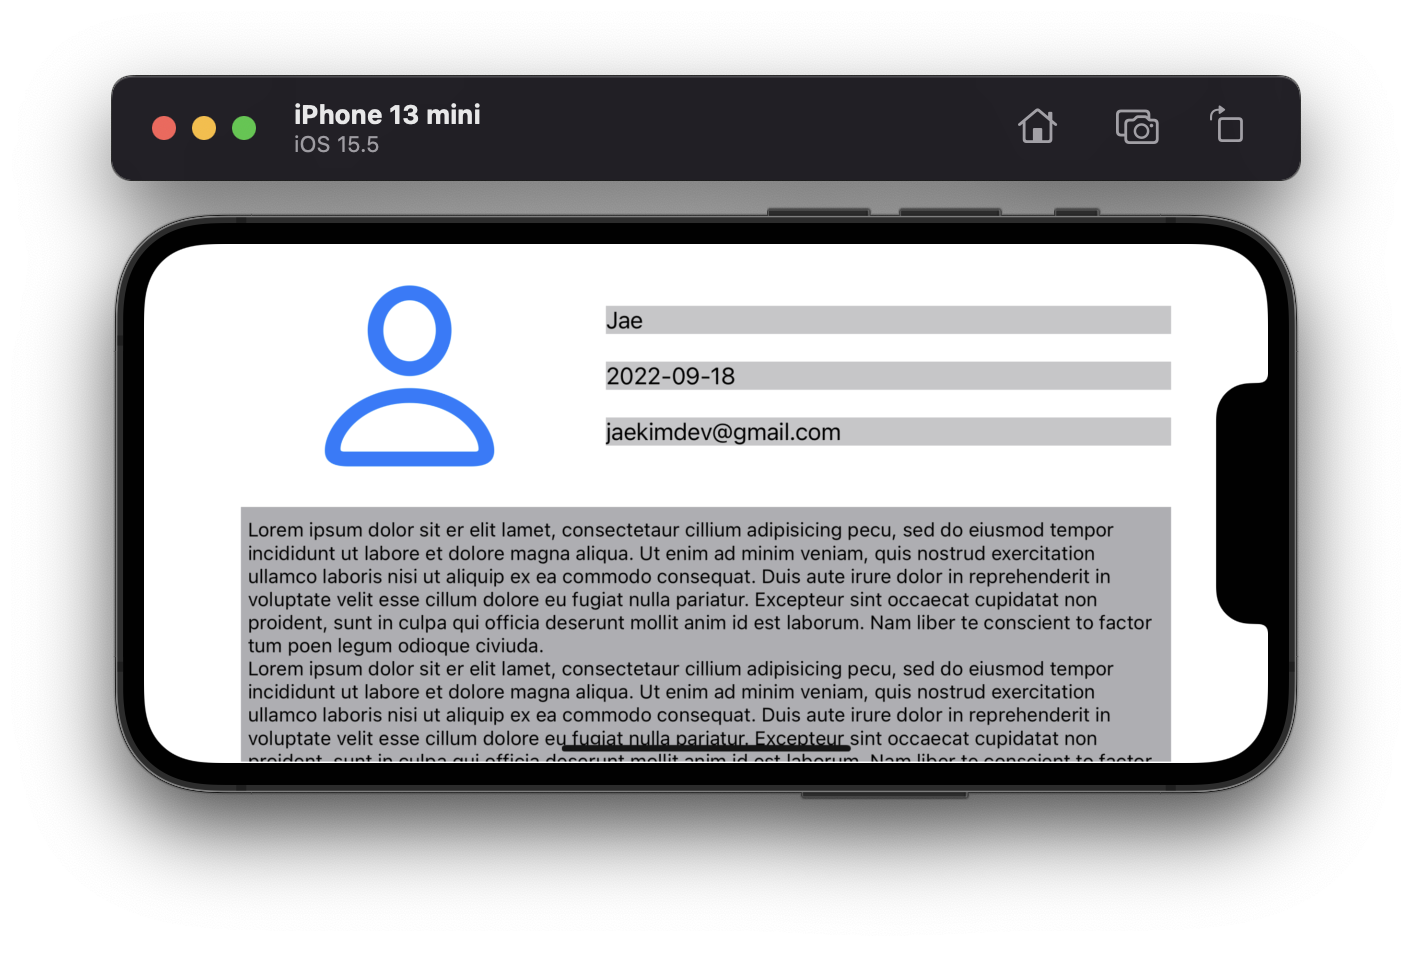
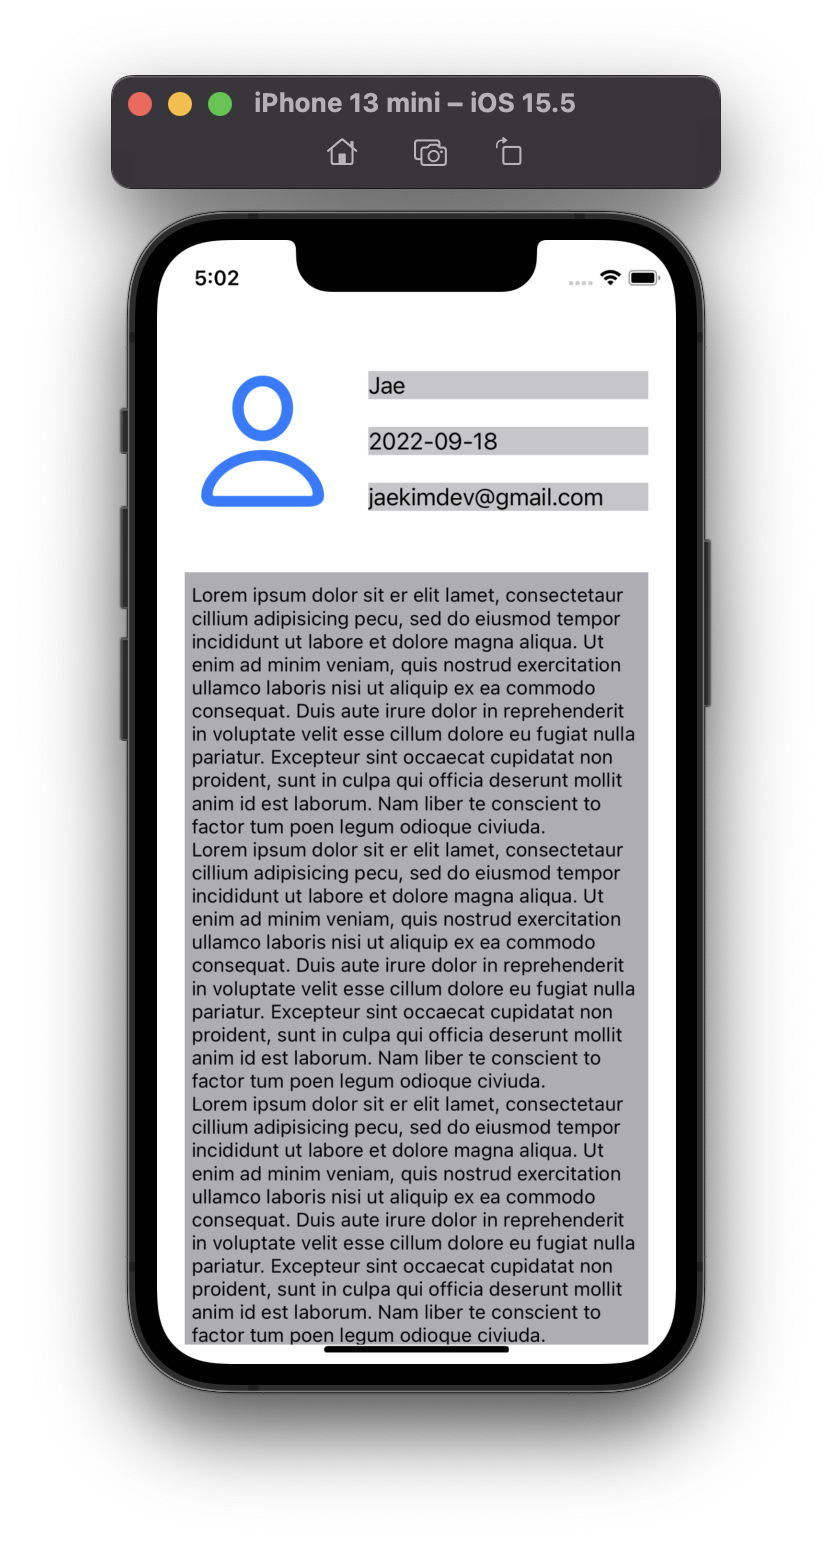
이미지 뷰, 3개의 텍스트
하단에 text view를 가지는 화면을 만들고
- 이미지 뷰의 최대 넒이, 높이는 150pt
- 이미지 뷰의 가로,세로 비율은 1:1
- 이미지 뷰는 화면 넓이의 30%를 차지
하도록 구성해 보자.
| Landscape Mode |
Portrait Mode |
 |
 |
❓ 어려웠던 점
- 이미지뷰 크기는 화면의 30%를 차지하도록 하려면 어떻게 해야할까?
➡️ 이미지 뷰를 선택하고 control 키를 누르고 슈퍼뷰에 드레그해서 equal width를 선택하고, 30%를 입력하면 된다.
- 이미지 뷰의 최대 크기는 150pt을 넘을 수 없으므로 priority를 1000으로 지정하고, 30% 제약은 750으로 지정해 준다.
- 이미지 뷰 선택하고 control 키를 누르고 이미지 뷰 자신에 끌어 넣으면 보이는 화면에서
aspect ratio를 선택하고 1:1로 지정해 주면 된다.
Reference
Apple - Auto Layout Guide
야곰닷넷-오토레이아웃 정복하기